Includes affiliate links that help offset our expenses at no cost to you.
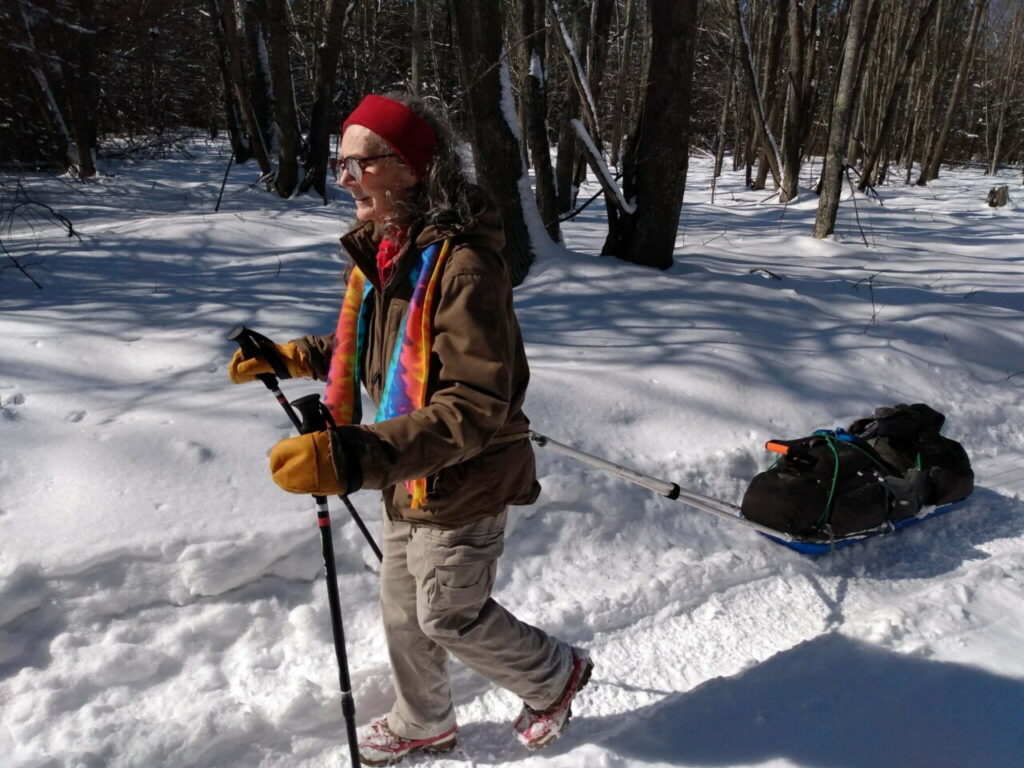
This article was inspired by the original article – PMags.com ‘s “How to Build a Gear Sled the Dirt Bagger Way“.
It is that time of year again. Most of the tourist are gone from some of the most beautiful destinations around the Great Lakes. In fact, the hiking community pretty much disappears in the winter. That’s too bad, because Pictured Rocks, Sleeping Bear and many other “tourist” destinations are actually quite peaceful and wide open. No slurpy foods, waddle-some tourists or bugs.
We don’t have to put away the hiking and camping gear just because our liquid sunshine solidifies, turns white and lays on the ground impeding our progress. In fact, winter travel in the wilderness can be comfortable and fun. Add the lack of crowds and bugs, and it has many advantages.
Trudging through knee deep snow with a 40 pound backpack doesn’t seem like something you would enjoy you say? Well, we do have to change the way we look at things when we travel the wilderness in the winter. One of the main changes we should make is taking that backpack off our backs and putting it on a pulk.
A pulk (gear sled) is a more efficient way to haul your gear. You can easily haul a pulk while on skis and snowshoes – you can even use one while post holing. They work well on flat to slightly hilly terrain, not so much in steep hilly or mountainous areas. There are a number of top quality commercial sleds available. They are rugged and capable, but they are expensive. Here’s how to build a simple pulk without spending too much AND a way to improvise a pulk (if needed) from gear and equipment you might already have available.
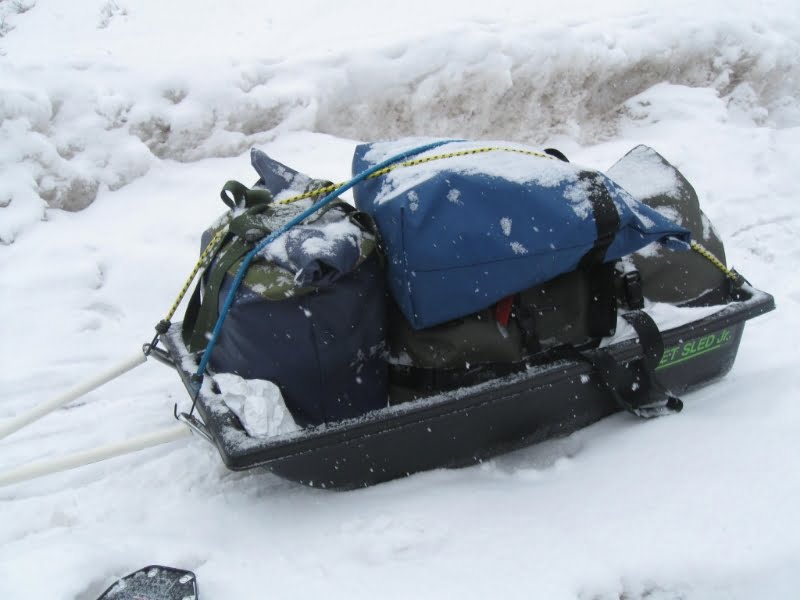
So, let’s talk about making one. For around $50 – $75, you can be hauling gear all over and living it up in a winter wonderland.
You might even have some or all of the materials on hand. Maybe in the garage or at the cabin. So maybe you won’t spend much.
MATERIALS
- A sled that you might find at the store for sliding down a hill. For a little more money, something along the lines of a Jet Sled or similar will work better. Jet Sleds are used in ice fishing quite a lot because they have higher sides than a downhill sled.
- (2) sections of 1/2″ PVC pipe 5 foot in length. Most home improvement stores sell them in 10′ lengths and will cut it in half for you
- (2) Six-foot lengths of 3/16″ nylon cord or any cord that would easily thread through the 1/2″ PVC Pipe
- (2) small carabiners – just your basic biner – nothing fancy. It doesn’t need to be rated by NFPA or UIAA for rope rescue or anything. But, you could use a more expensive climbing biner in a pinch
- 5′ x 7′ tarp Optional – but it would help keep the gear dry.
- Large duffle bag, backpack, gym bag or two
- (3) One ft long bungee cords and (2) two-foot long bungee cords or a one foot bungee and a small cargo net (or an inexpensive set of bungees)
Building the Pulk
- Cut the rope into two sections – about 6.5 to 7 feet each.
- Attach the ropes to the sled. Some sleds will have holes already for tow ropes. The Jet Sled Jr has such holes, Tie an overhand loop knot and thread the rope through the hole.

3. Thread rope through each of the 5 foot PVC pipe.

4. On the other end of rope tie on ‘biners leaving a little slack in the line You should have about 1″ of loose rope or less on end of pipe with ‘biners when all is said and done. though depending on how you attach the bars, you may need more or less. The bars should be tight when the sled is in the “towing” configuration.
5. At this point, the basic pulk is done.
Packing the gear
- If you want use a tarp, spread the tarp out and over the sled to wrap all your gear in side.
- Place gear in the tarp, wrap it up tight then secure it with the bungees, one foot bungees over the load from side to side and the 2 footers make an “X” over the gear.
- If you use a cargo net, secure it over the tarp
- You may want to add an avalanche shovel
.
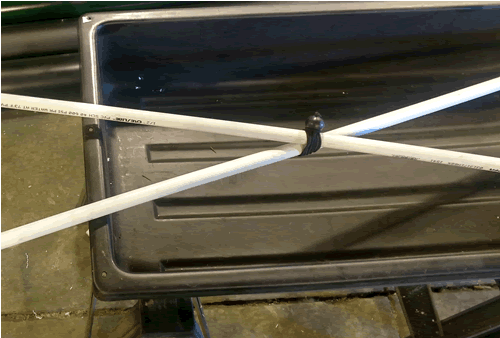
- Before you haul the sled, cross the PVC pipes to form an “X”.
- In middle of the “X”, bungee cord (tie, velcro) the pipes together. By crossing the PVC this makes the tow bars much more rigid and give you better control.
The tarp helps keep the snow out. Kayaking bags, waterproof bags can do the same thing, but keep your gear in modules.
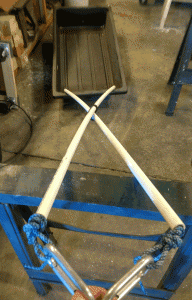
When it is time to haul the gear, attach the carabiners to your day pack just above the hip belt. Try to keep the attachment point on your sides (by your hips) and not behind you. This provides better control.
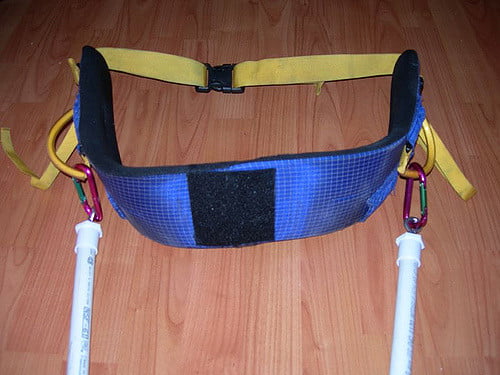
Hip Belt or pack? Whatever you prefer, but the pack should have a hip belt. A hip belt will keep the load low on the hips and be less jerky than if it were on a pack without a hip belt. Use your imagination and try it out before you go on the 50 miler.
That’s it. This simple sled might not be ideal for travel across Greenland’s ice cap or up a mountain, but it works well in winter conditions.
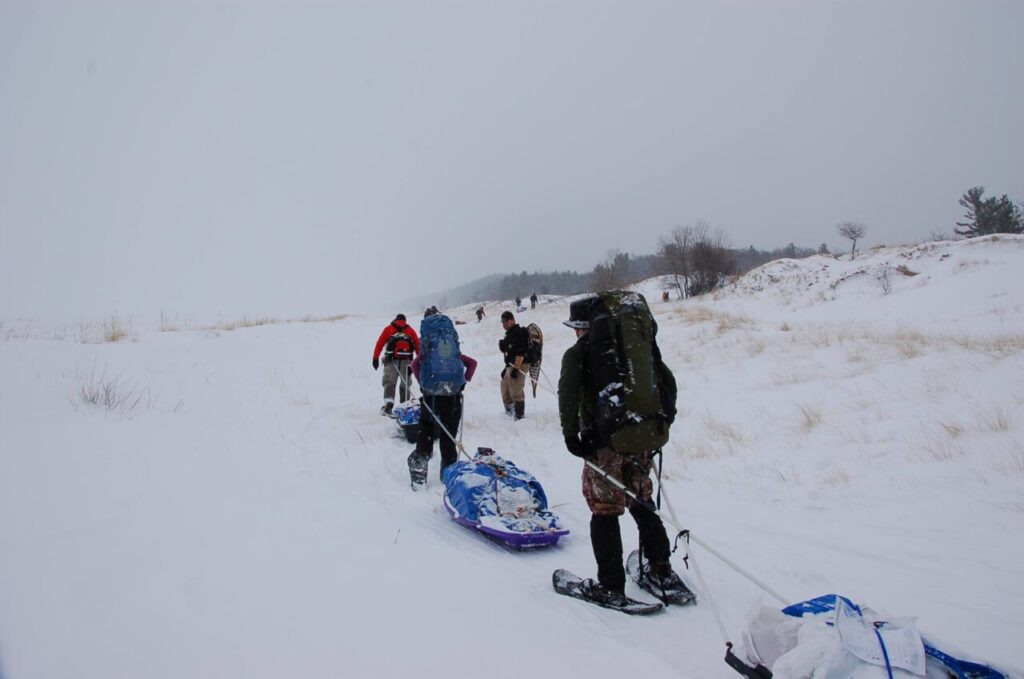
There are many other plans out there. Check out our source for this article – PMags “Build a Gear Sled the Dirtbagger Way“. You can build a more complicated pulk with better control features, or you can use different sized rope, biners, etc. After you spend a little time with it, you will get a good configuration and process figured out.
See also: Packing and Rigging a Pulk

